Installing Pebble tiles in Your Bathroom: A Step-by-Step Guide
January 29, 2024 | by Germaine
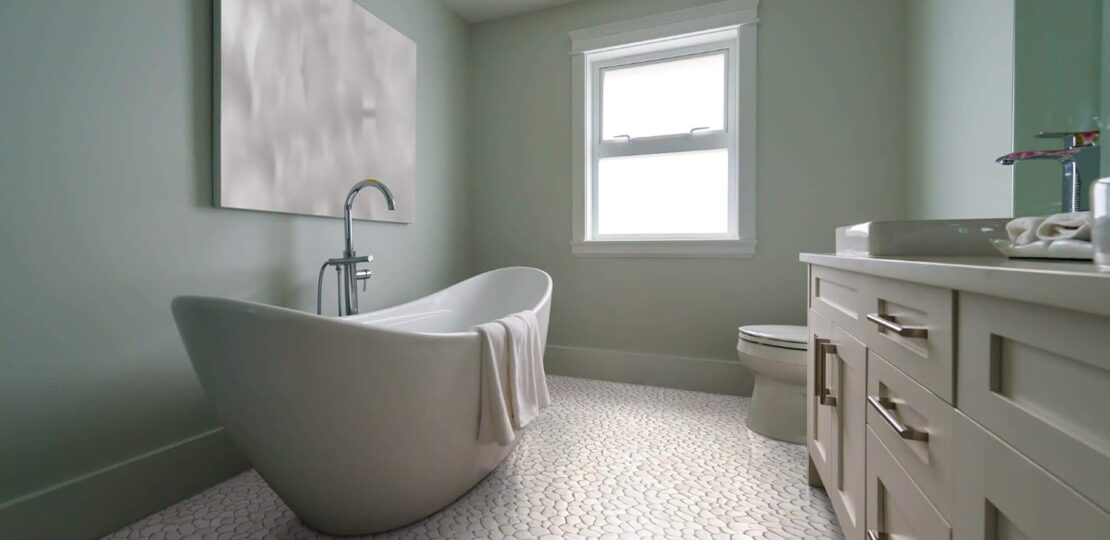
Pebble tiles can turn a bathroom into a spa oasis. Installing pebbles in your bathroom can be exciting, but a bit daunting. Needless to say, a the right flooring can make your bathroom stylish and functional. While there are various options available, one that is gaining popularity for its natural and unique look is pebble tiles. Not only do they add a touch of elegance to any bathroom, but they also provide a slip-resistant surface, making them ideal for wet areas. However, the installation process can seem intimidating, causing many homeowners to shy away from using pebble or even pebble tiles.
That’s why we have put together the ultimate guide, providing you with step-by-step instructions on how to install pebble or pebble tiles in your bathroom. From preparation to grouting, we will cover every aspect of the installation process, ensuring that you have all the information and guidance needed to achieve a professional finish. So, whether you are a DIY enthusiast or looking to save on installation costs, read on to discover how you can easily and successfully install pebble tiles in your bathroom.

1. Gather tools and materials needed.
Before embarking on the installation of pebble or pebble tiles in your bathroom, it is essential to gather all the necessary tools and materials. This step is crucial as it ensures a smooth and efficient installation process. First and foremost, make sure you have a measuring tape, level, and a pencil to accurately mark the area where the tiles will be installed. Additionally, you will need a trowel and a notched trowel for spreading the adhesive evenly. It is also important to have a bucket, sponge, and clean rags for cleaning up any excess adhesive or grout. Finally, make sure you have enough pebble tiles, adhesive, and grout to cover the desired area. By gathering these tools and materials beforehand, you can ensure a hassle-free installation process and achieve professional-looking results.


2. Prepare the bathroom surface properly.
Before installing pebbles or pebble tiles in your bathroom, it is important to properly prepare the surface. This step is crucial in ensuring a successful installation and long-lasting results. Start by thoroughly cleaning the bathroom floor and removing any existing tiles or flooring materials. Use a scraper or chisel to get rid of any adhesive or grout residue. Next, check for any cracks or uneven areas on the surface. Fill in the cracks and level out the uneven spots using a suitable filler or leveling compound. Finally, make sure the surface is completely dry before moving on to the next step. Taking the time to properly prepare the bathroom surface will help create a smooth and stable foundation for the pebbles or pebble tiles, allowing for a seamless installation process.
3. Lay out a pattern plan.
Before you begin installing pebbles or pebble tiles in your bathroom, it is crucial to lay out a pattern plan. This step ensures that you achieve the desired aesthetic and minimize mistakes during the installation process. Start by measuring the area where you want to install the pebble tiles and take accurate dimensions. Next, consider the layout options available and choose a pattern that suits your style and preferences. You may opt for a random pattern for a more natural and organic look or go for a more structured design with uniform-sized pebbles. Once you have selected a pattern, use chalk or masking tape to mark the layout directly on the floor. This will serve as a visual guide throughout the installation process and help you stay on track. Taking the time to plan out the pattern beforehand will save you from potential errors and ensure a smooth and visually appealing installation of your pebble or pebble tiles in the bathroom.
4. Install the pebbles or pebble tiles carefully.
When it comes to installing pebbles or pebble tiles in your bathroom, it is essential to take great care during the process. The installation of these unique tiles requires precision and attention to detail. Begin by preparing the surface of the bathroom floor, ensuring it is clean and free from any debris. Next, apply a thin layer of mortar or adhesive to the floor, making sure to spread it evenly. Gently press each pebble or pebble tile into place, taking care to align them properly. Use a rubber mallet or a wooden block to ensure the tiles are securely adhered to the floor.
Finally, allow the adhesive to dry completely before grouting the tiles for a finished and polished look. By following these steps carefully, you can successfully install pebbles and pebble tiles in your bathroom, creating a stunning and natural aesthetic.

5. Seal and maintain the tiles.
After successfully installing pebbles and pebble tiles in your bathroom, the final step is to seal and maintain them. Sealing the tiles is essential to protect them from moisture, stains, and other potential damage. Start by thoroughly cleaning the tiles to remove any debris or grout residue. Once they are clean and dry, apply a penetrating sealer using a brush or roller, making sure to cover all surfaces. Allow the sealer to dry completely before applying a second coat if necessary. It is recommended to reseal the tiles annually to maintain their integrity.
Pebble-tiled floors can add a unique and natural touch to any space. However, it is essential to properly maintain these floors to ensure their longevity and beauty. Firstly, regular sweeping or vacuuming is necessary to remove dirt and debris that can scratch the surface. Additionally, using a pH-neutral cleaner specifically designed for stone floors will help to remove any stubborn stains or spills without damaging the pebbles. It is important to avoid harsh chemicals or abrasive cleaners that can erode the stones and grout.
Regularly sealing the grout lines is also recommended to prevent moisture and dirt from seeping in and causing discoloration or mold. Lastly, using gentle scrub brushes or soft cloths for cleaning, and avoiding excessive water or steam, will help to maintain the integrity of the pebbles and keep them looking beautiful for years to come.
Installing pebble tiles in your bathroom can be a challenging but rewarding project. By following these step-by-step instructions, you can achieve a beautiful and unique look for your bathroom that will last for years to come. Remember to take your time, use the proper tools and materials, and seek professional help if needed. With patience and attention to detail, you can transform your bathroom into a luxurious and tranquil oasis.
Pros and Cons of Pebble Floors

Pebble-tiled floors offer a unique and natural aesthetic that can bring a touch of tranquility and sophistication to any space. The distinct texture and patterns of the pebbles create a visually appealing surface that adds depth and visual interest to a room. Additionally, the natural colors of the pebbles can complement a variety of interior design styles, from rustic to contemporary. Moreover, pebble tiles are durable and long-lasting, making them a practical choice for high-traffic areas such as entryways or bathrooms. They are resistant to scratches and can withstand heavy foot traffic without showing signs of wear and tear. Furthermore, the pebbles provide a non-slip surface, making them a safer option for areas prone to moisture or spills.
However, it is important to consider the potential drawbacks of pebble-tiled floors. One significant concern is the discomfort that may arise when walking barefoot on the uneven surface of the pebbles. While the texture can be appealing visually, it may not be as pleasant to walk on for some individuals, especially those with sensitive feet. Additionally, cleaning and maintaining pebble-tiled floors can be more challenging compared to traditional tile or hardwood floors. The crevices between the pebbles can trap dirt and debris, requiring frequent and thorough cleaning to keep the surface looking its best.
Lastly, the installation process for pebble tiles can be more labor-intensive and time-consuming compared to other flooring options. The individual placement of each pebble can be tedious and may require professional installation to ensure a seamless and durable result.
Why choose Pebble-mats?
When it comes to choosing between pebbles and pebble-tiles, the decision ultimately depends on personal preference and the intended use. Pebbles, with their natural beauty and texture, can create a visually appealing and unique aesthetic in any space. They can be used to create pathways, borders, or even decorative accents. On the other hand, pebble-tiles offer a more convenient and practical option. These tiles are pre-assembled with pebbles attached to a flexible backing, making installation quick and easy. They are especially useful for areas that require a flat and stable surface.
Additionally, pebble-tiles provide a more even and comfortable surface to walk on than loose pebbles, reducing the risk of tripping or discomfort. However, it is important to consider maintenance and longevity. While pebbles may require occasional cleaning, they generally have a longer lifespan. Ultimately, the decision between pebbles or pebble-mats should be based on the desired look, practicality, and long-term maintenance considerations. Both options have their advantages and can enhance the overall appeal of any space.
Conclusion
In conclusion, incorporating pebbles or pebble tiles into your bathroom design is a wise and stylish choice. Not only do they add a unique and natural element, but they also provide practical benefits such as increased slip resistance and easy maintenance. With a variety of colors, sizes, and styles to choose from, pebble tiles can elevate the look and feel of any bathroom. Consider adding them to your next renovation project for a touch of sophistication and functionality.
RELATED POSTS
View all
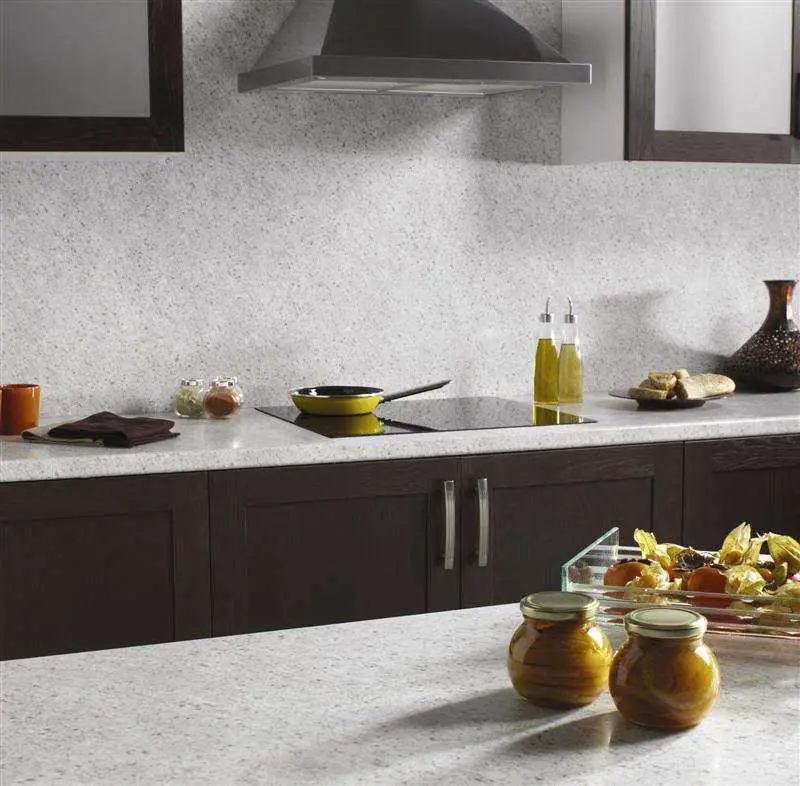
What You Need To Know About Granite Kitchen Tops
September 3, 2023 | by Germaine
Balancing Beauty and Functionality: Achieving Unity in Home Décor
September 1, 2023 | by cashsavvyconstruction.com

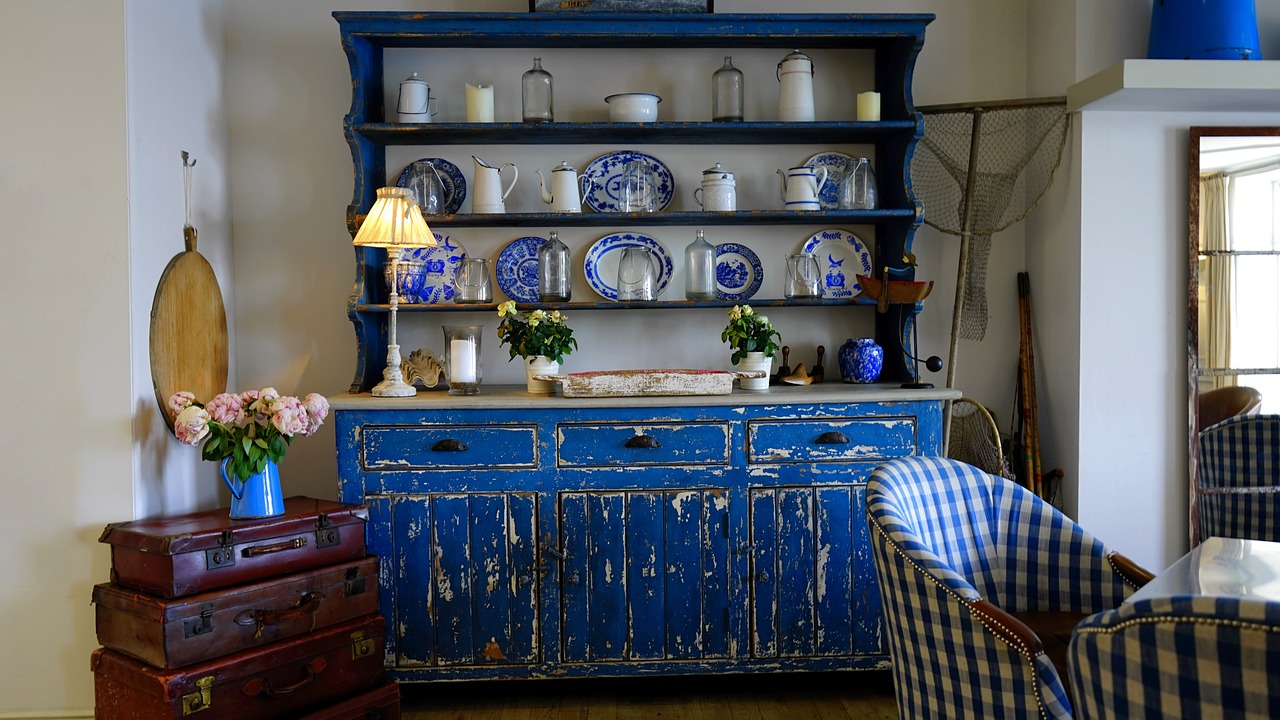
The Art of Shelf Styling: Tips for Infusing Personality into Your Home Decor
September 3, 2023 | by Germaine